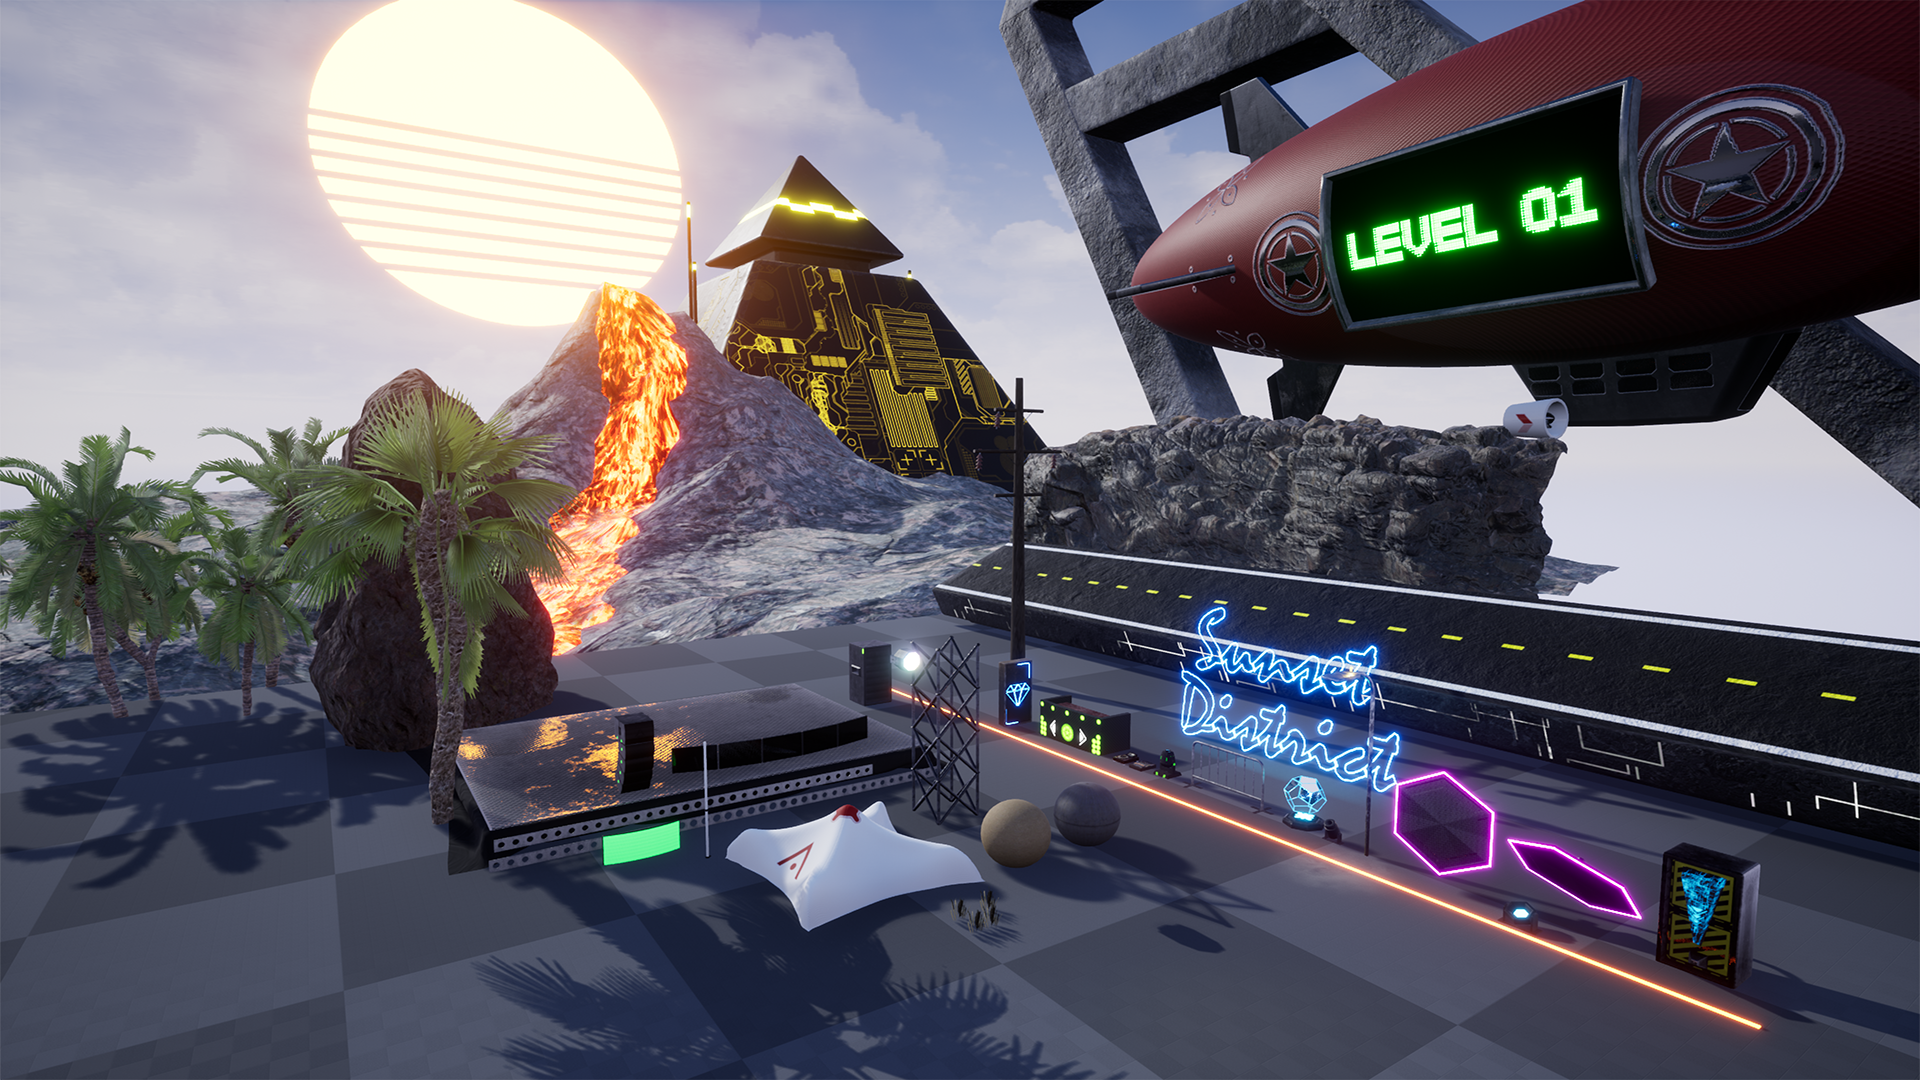
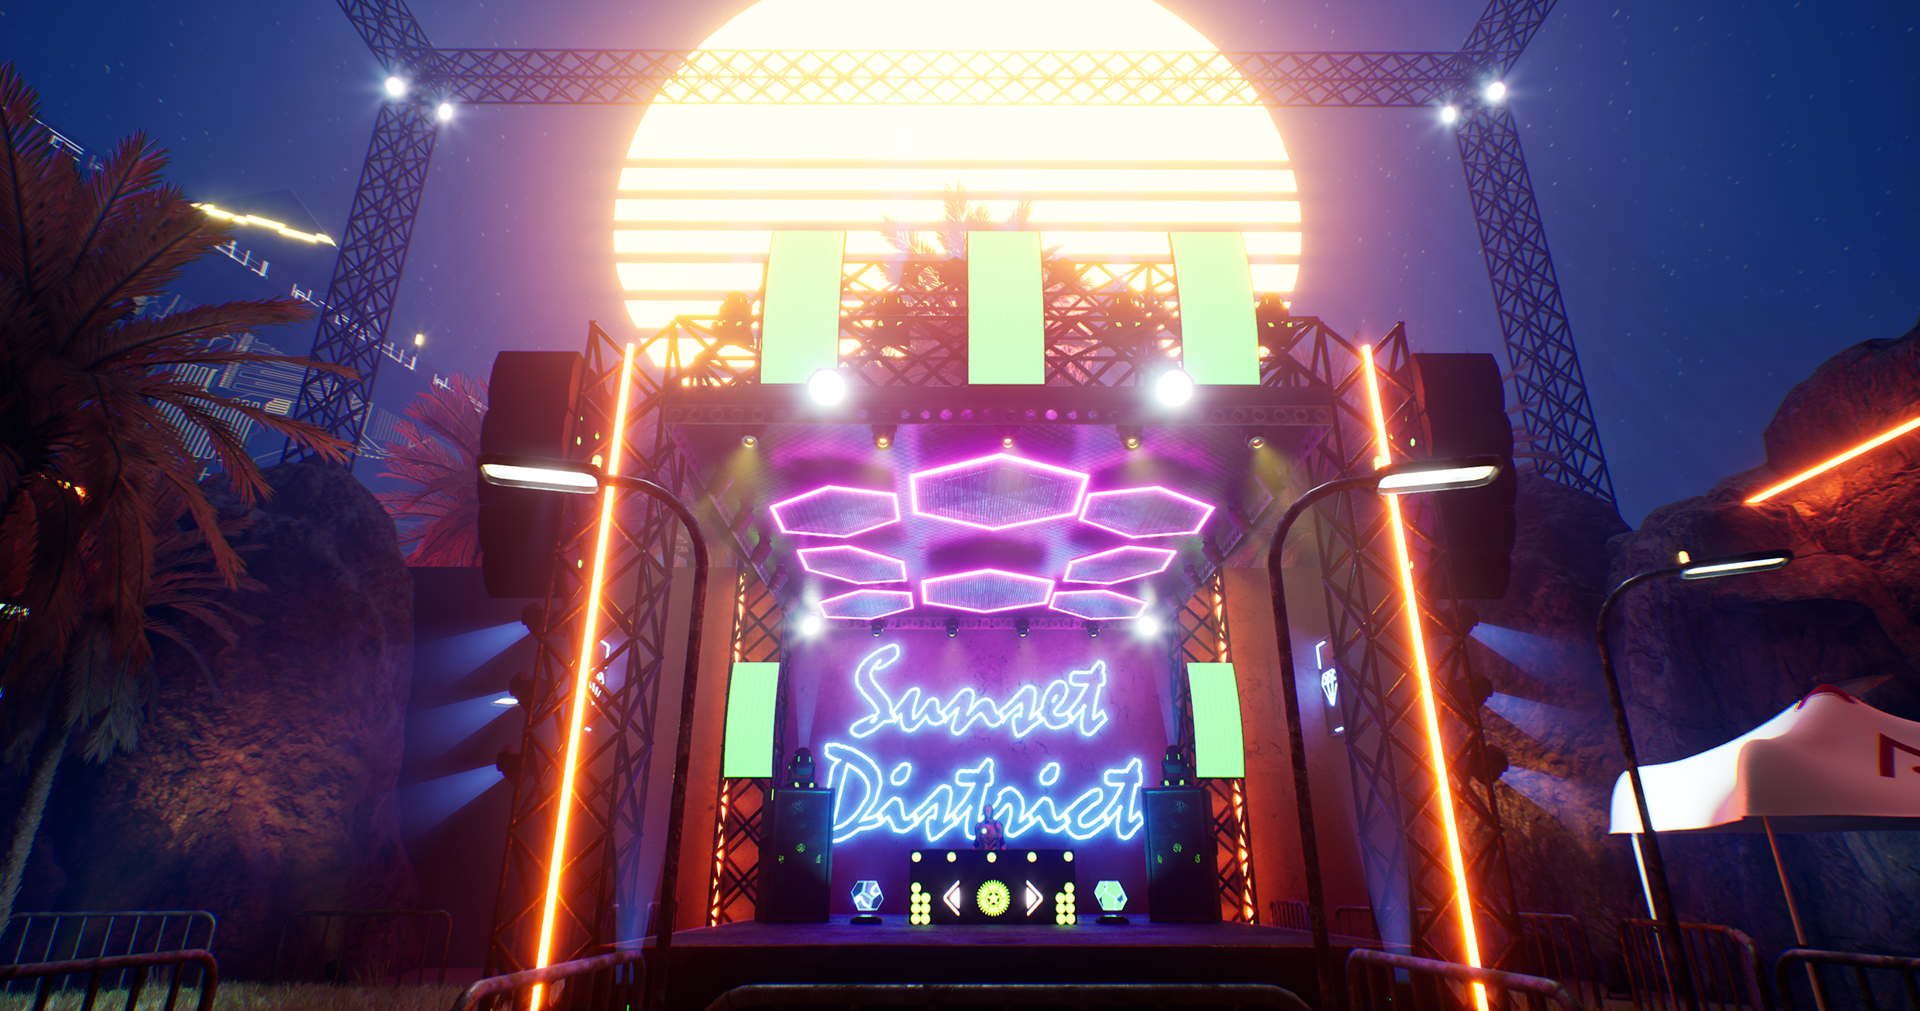
This scene was by far the most technically challenging scenes of the 4 showcased in my reel. Experimental features, as well as unorthodox ways to model some parts, were used to build out this scene. There are a couple assets below that are pretty small but packed with detail that I want to showcase in more depth that the first "zoo" file image doesn't do justice. Those will be isolated toward the bottom of this page. I'll start with the lava mountain. For this asset, I made a heightmap using various noises inside of Substance Designer. I then imported into ZBrush to paint out the height that I wanted onto a plane thus giving me a very high resolution mountain asset. Then I baked that high resolution asset onto a decimated mesh using Substance Painter. This gave me great curvature maps to work with and a great normal map for the rocky detail. In Substance Designer, I used the terrain heightmap to build a rocky surface color map that I imported into painter and began weathering the asset to get nice transitions between my color map and some weathered materials I built in Painter. For the lava itself, I figured out a pretty neat trick. I actually made a flat plane that was as long as I needed then ran an nCloth simulation on it and pinned the top vertices to the back of the peak of the decimated mountain asset. This draped the cloth strip down the mountain in a natural way that conformed to all the bumps and jagged edges of the mountain. I used some of the sculpting tools in Maya to make a depression where the lava strip lied, then pushed that lava strip into the depression giving me a nice channel for the lava to sit. The result was a nice lava channel. As for the lava material, the base patterns were made using Substance Designer and re-purposed for the emissive channel in Unreal. Then I just used a panner node on the Y-Axis multiplied by another noise as 2D displacement to give a nice flowing lava feel.
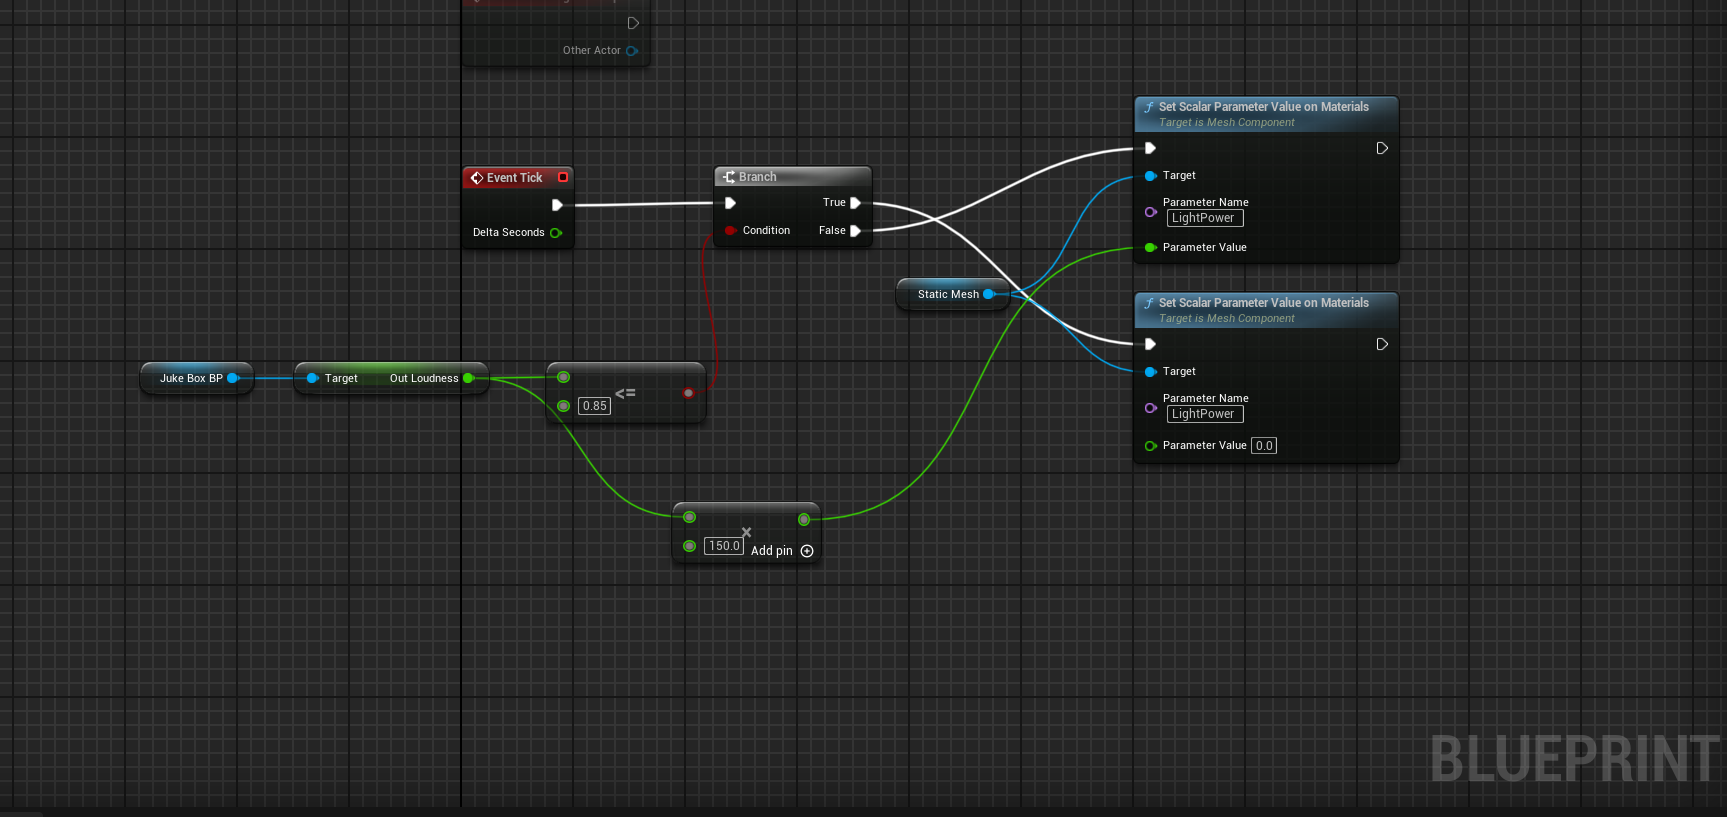
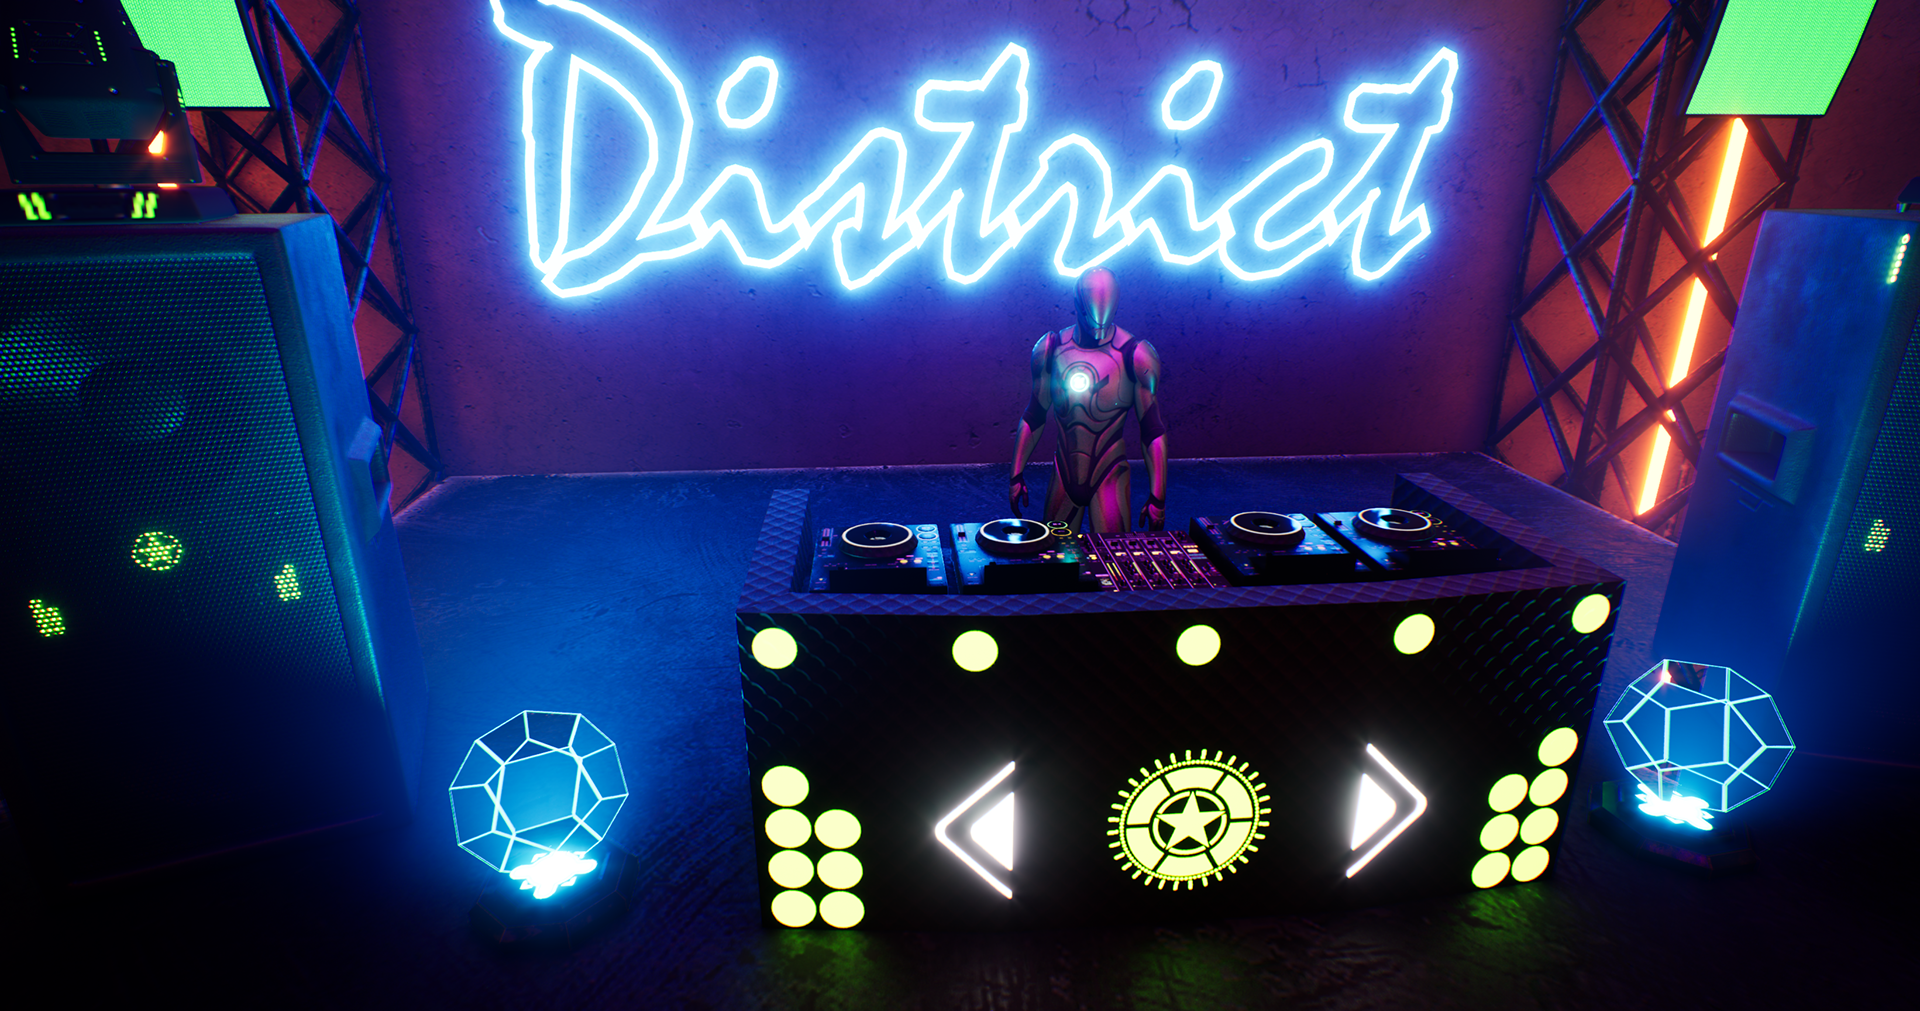
*Technical Speak Ahead* The other biggest technical challenge was the music and having all the lights and neon react to that music in real time. I created a custom jukebox blueprint that was modular, in that I can add as many tracks as I want and still have it cycle through the music randomly. This made use of random number generators in Unreal's Blueprint system where it essentially selected a random number in a range of however many tracks I put in the project. For example, I had 6 total music tracks in the scene so the random range would be from 0-5, which is 6 values total. I then put those 6 values into an array. Play is the "1" key and to stop all audio you press the "2" key. Once you press the "1" key behind the decks, it generates a random number (in this case 0-5) which I assigned to one of the 6 tracks. The blueprint then plays the music file associated at that index of the array and would stop any other currently playing songs if there are any. This occurs every time you press the key so with every press a new song plays. Once I figured out how to make a jukebox, the next part of this system was real time music analysis. This system utilized the built-in NRT loudness analysis with Synthesia that Unreal Engine 5 supports. With Synthesia, you can create a Loudness NRT for each imported music track. This is essentially a node that stores the pre-analyzed loudness value for each audio file. I then looked at the output values of each song when played to get a baseline loudness which in my case was about 0.85 and used a series of float compare and branch nodes to give a "True" value when the loudness was above 0.85 and a "False" when it was below. I then multiplied that output value by 100-200 as needed to get to a normalized integer value stored as a public variable that I used in my light fixture blueprints to drive the light intensity, material emissive power and volumetric scattering amount for these light assets. All of this happens on event tick thus allowing these updates to occur on every game tick making the lighting have real time reaction to whatever audio is currently output from my jukebox. This is just the core part of how I got this working.
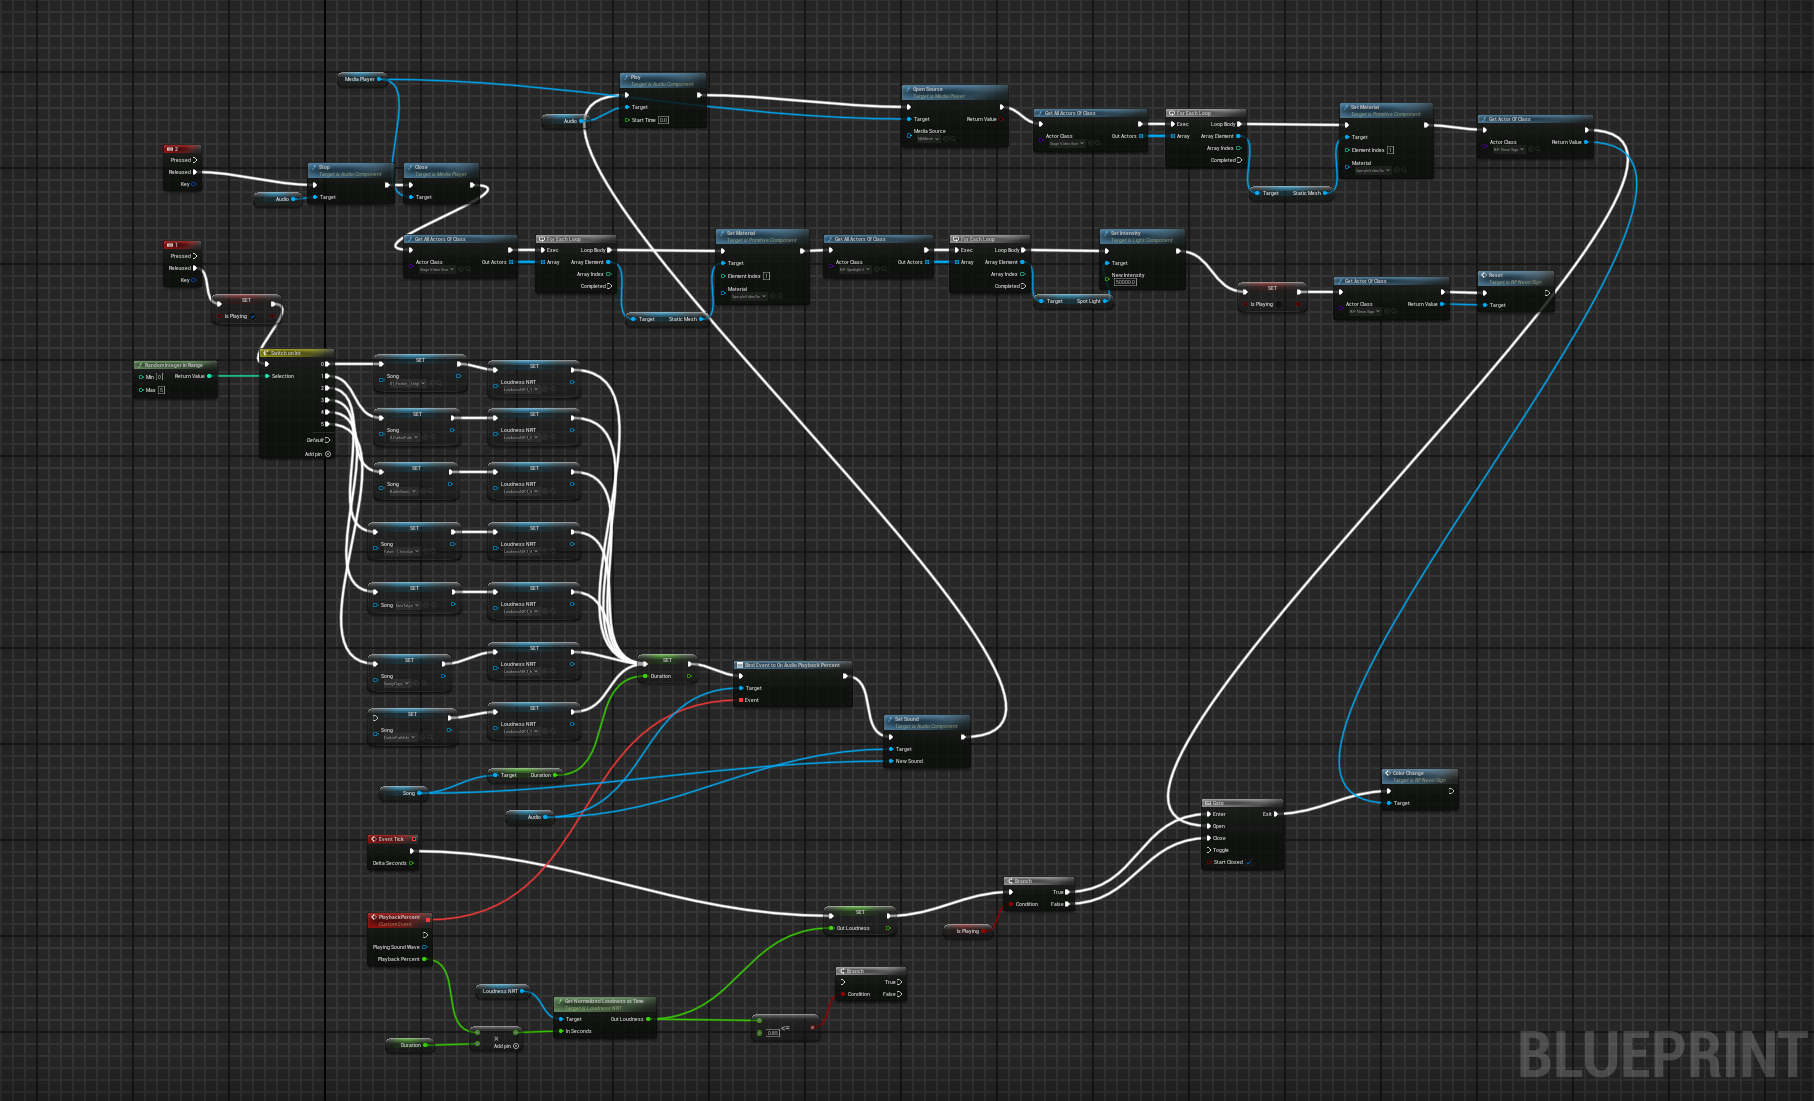
What the overall jukebox blueprint looks like. Top portion is for the random music track player and the bottom is the Synthesia loudness analysis and comparison portion.
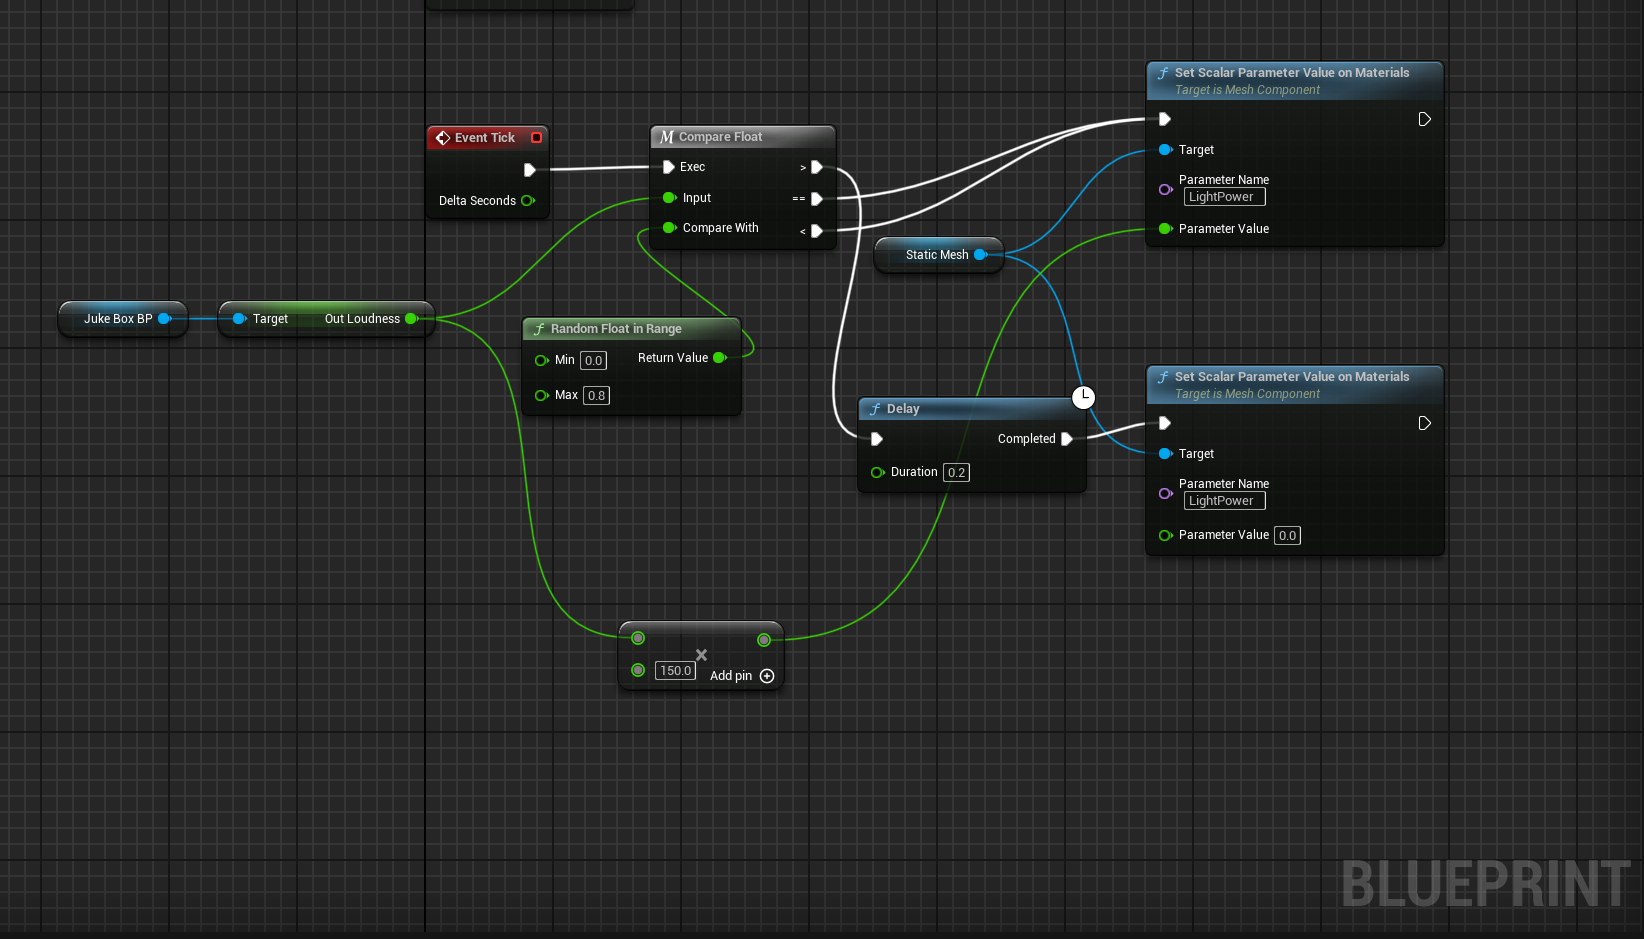

Above are some of the blueprints for the light fixtures which show the utilization of that key loudness variable I mentioned earlier that drive the various parameters (light intensity, material parameters, etc.).


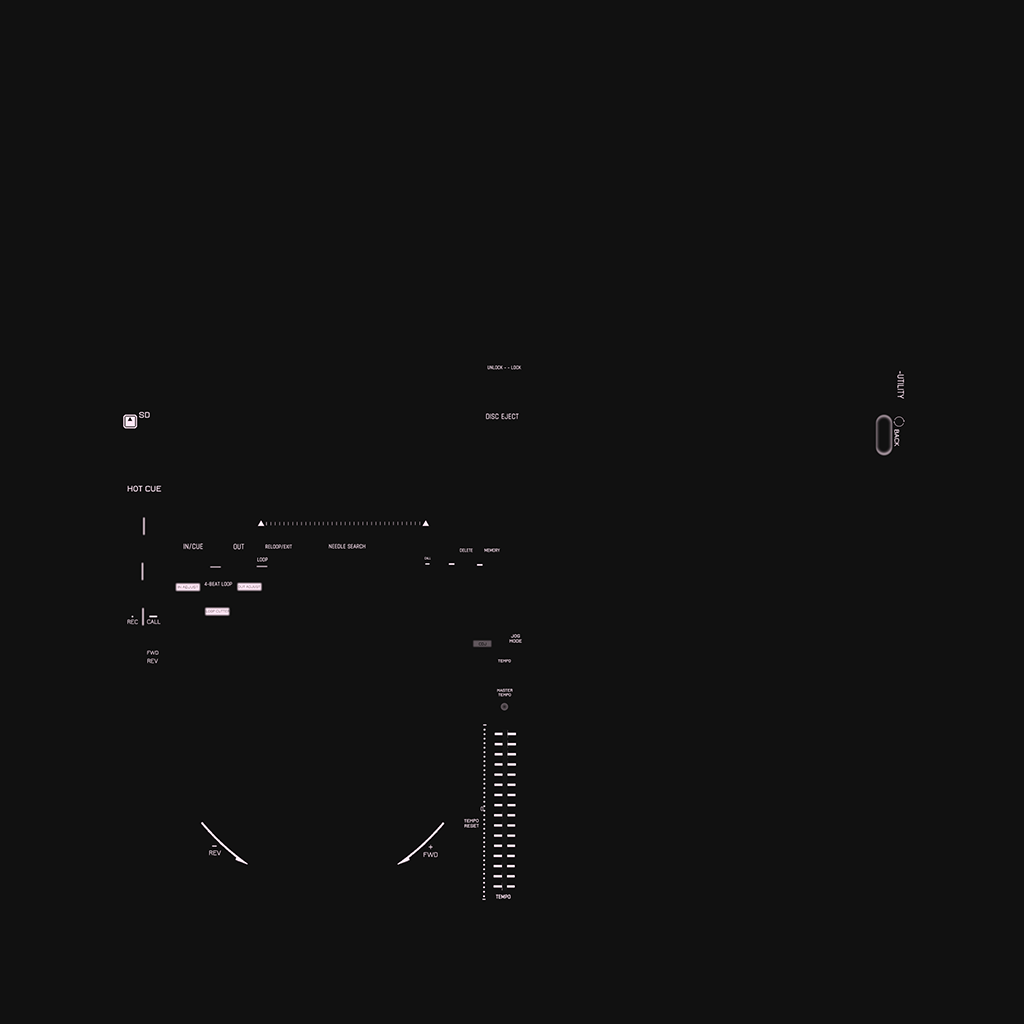
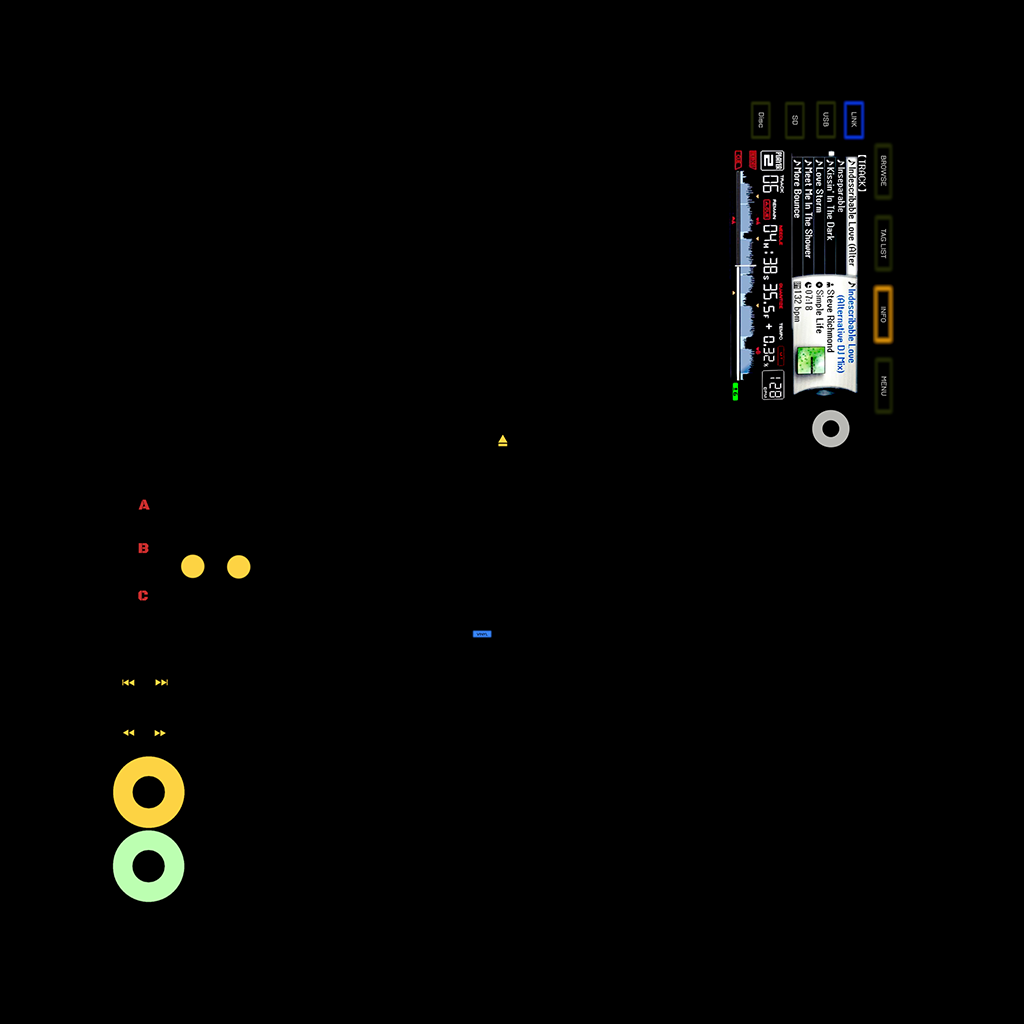
CDJ

CDJ 2000 NXS
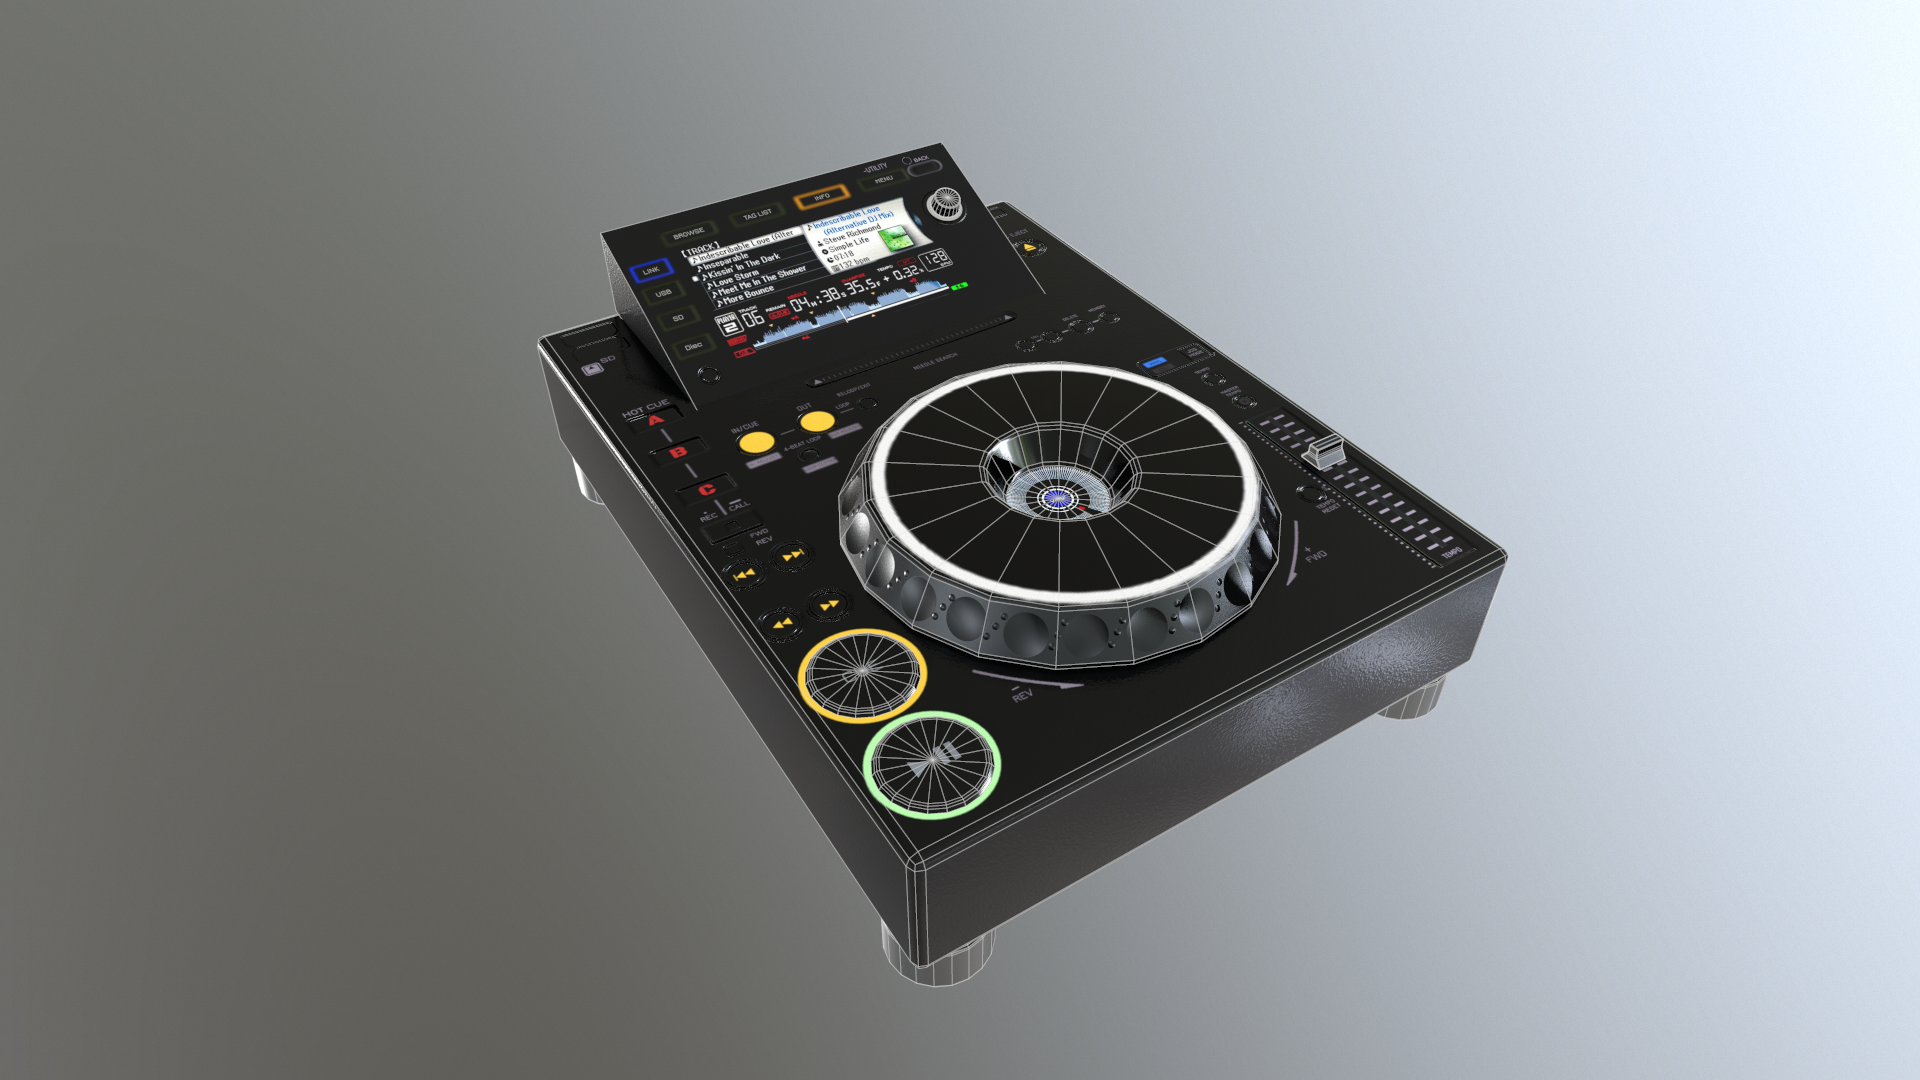
Wireframe, 2,300 Tris
BaseColor
Emissive

Normal

Roughness
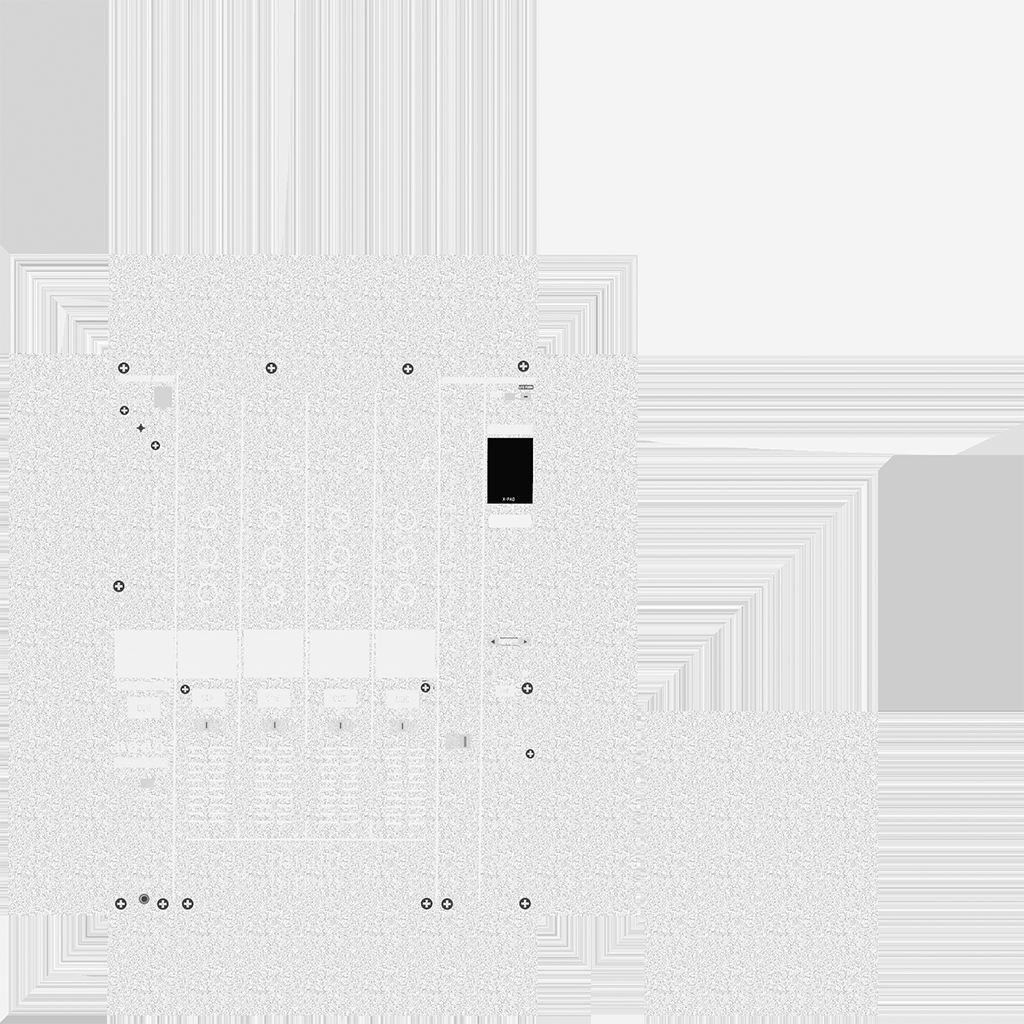
Mixer
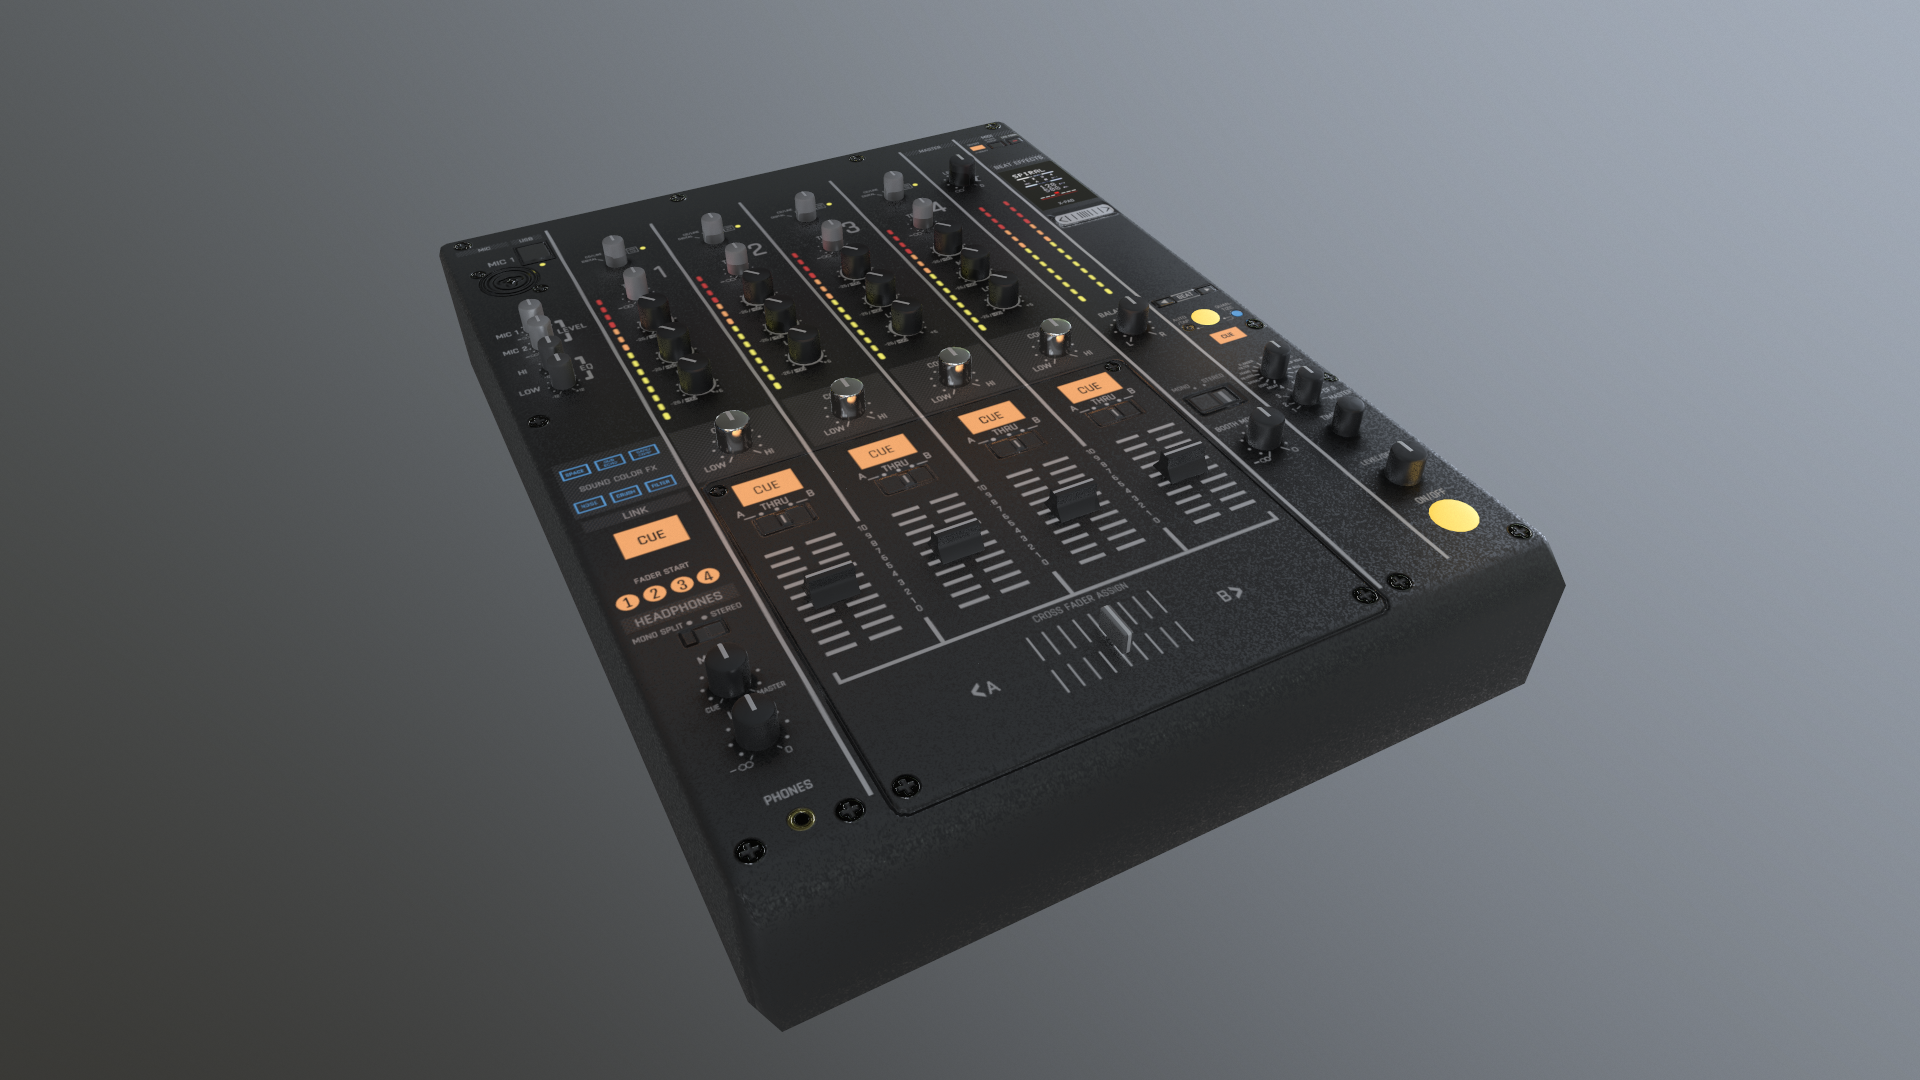
DJM 900 NXS
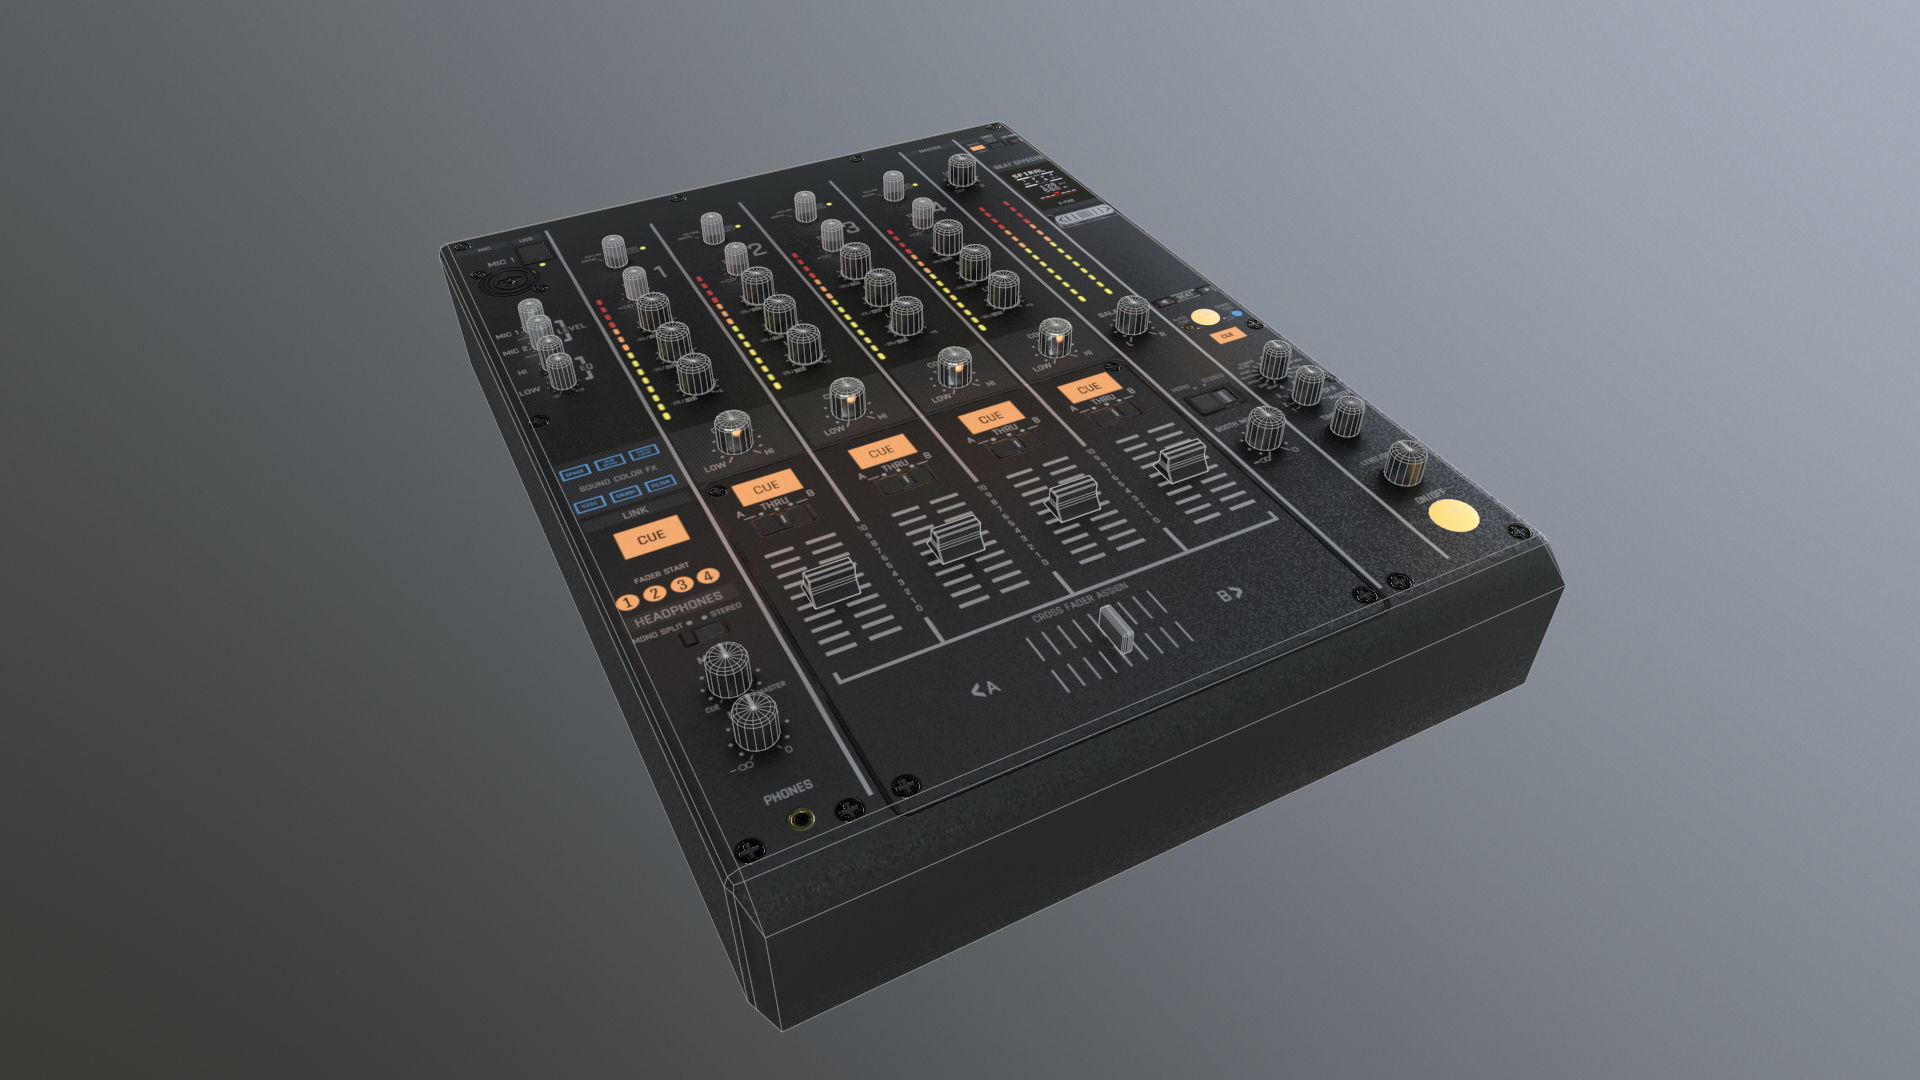
Wireframe, 6,432 Tris
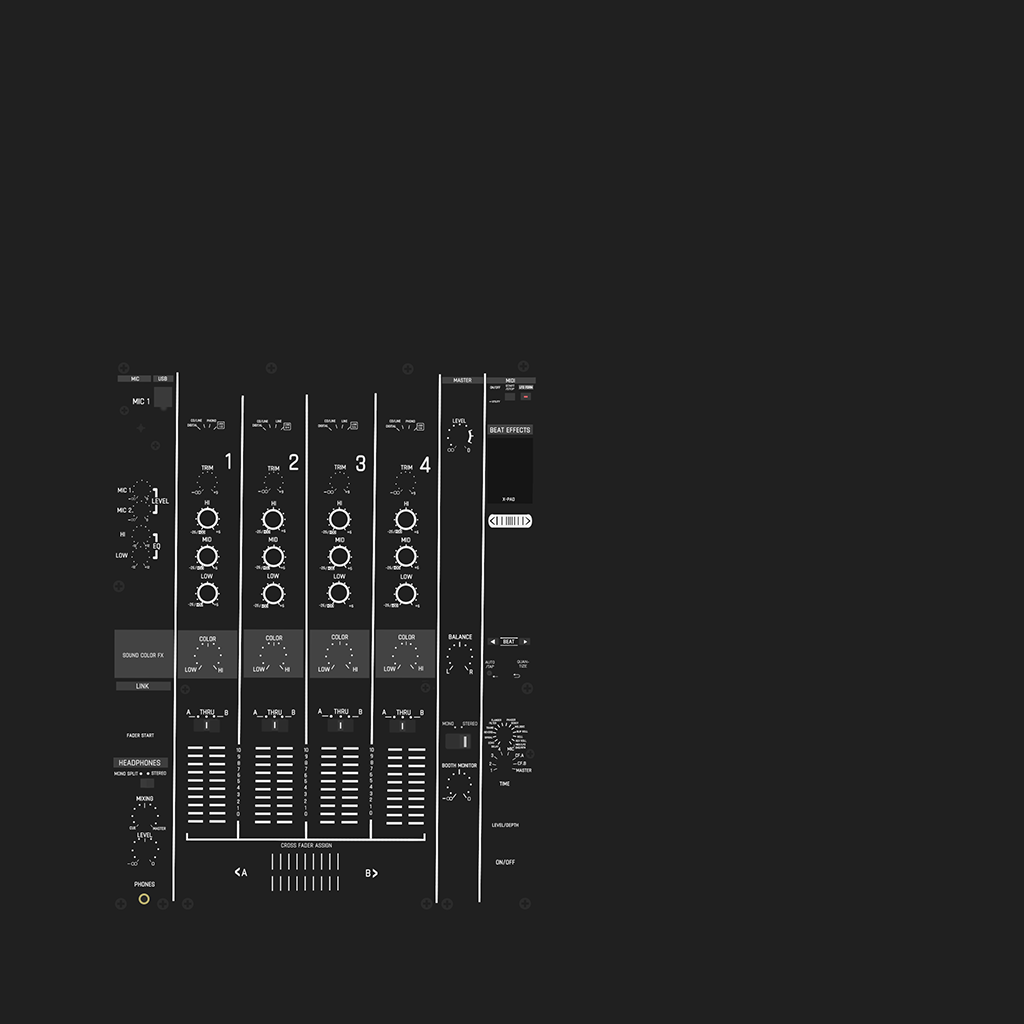
BaseColor

Emissive

Metallic

Normal
Roughness
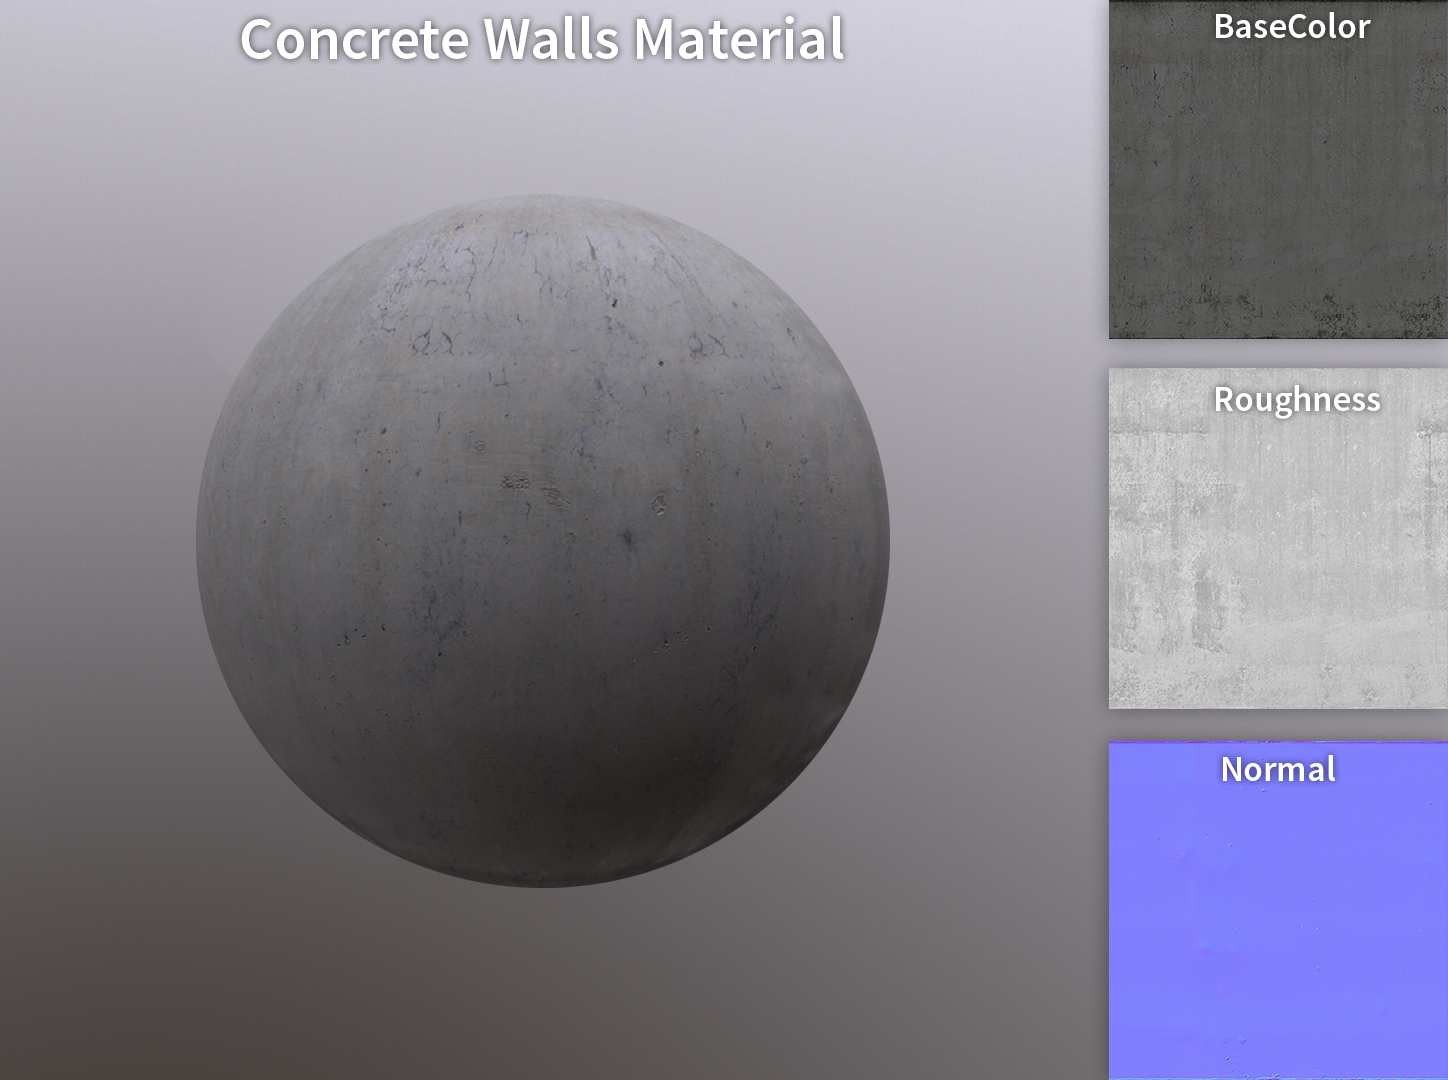
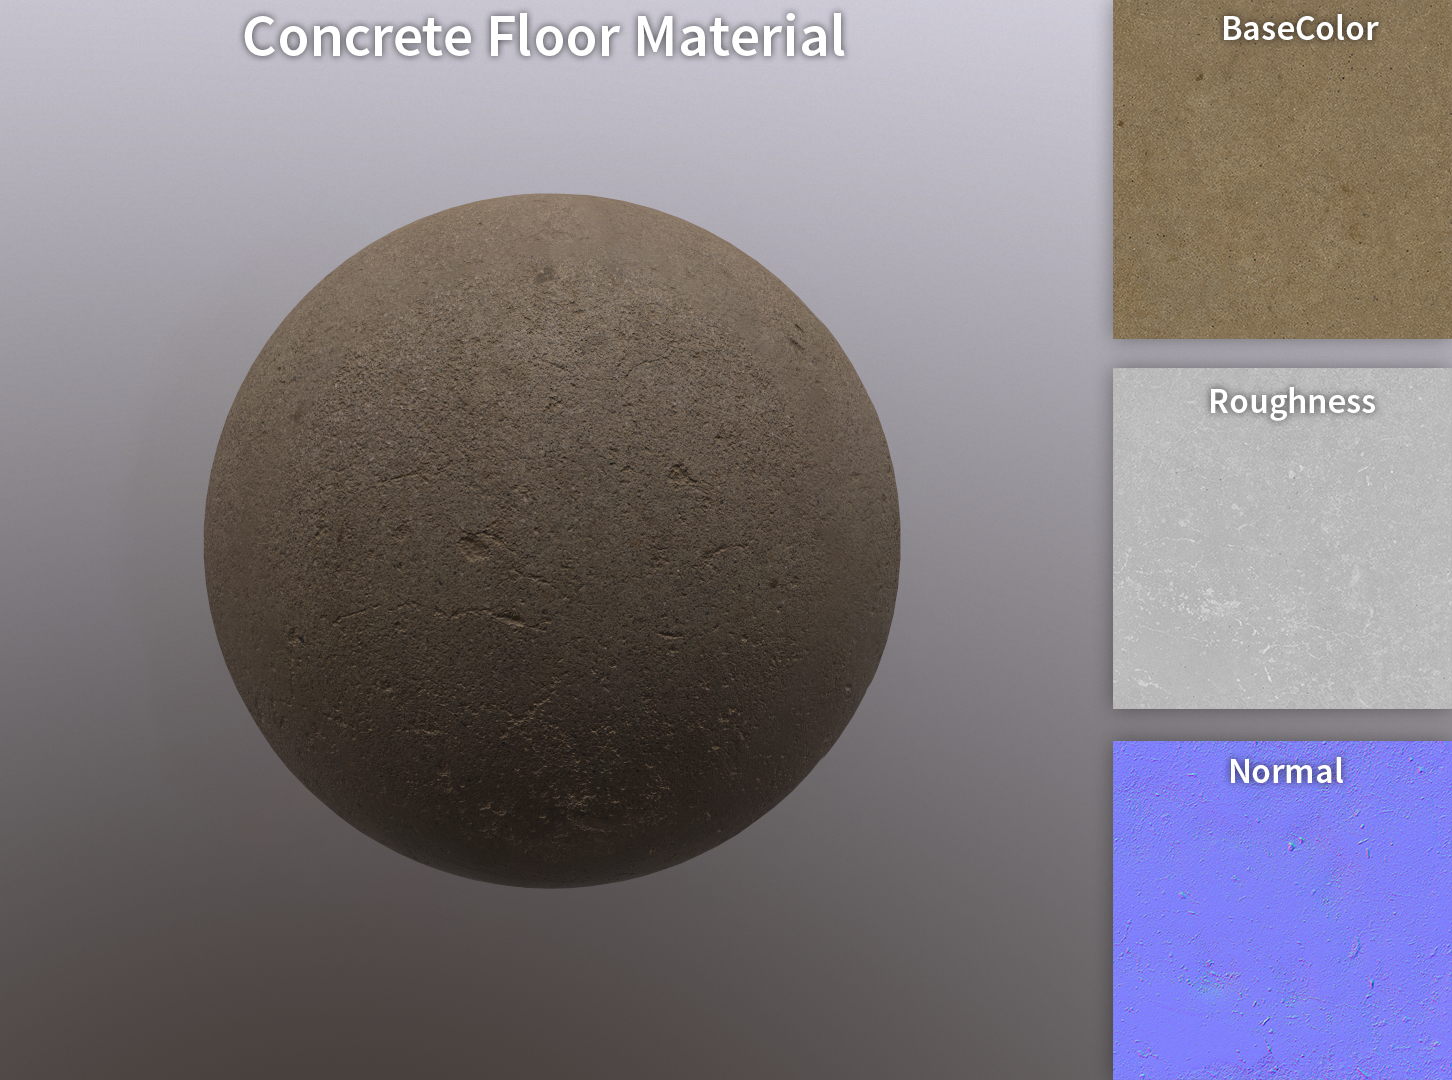
Tileable Materials